
The tutorial guide
Start here for a small, ordered introduction using the pythonocc backend. There is one gateway notebook per theme, in the agreed order. Each notebook is independent, creates its own small example, and ends with one optional exercise. You do not need to run earlier notebooks first.
The code uses direct API calls, named variables and ordinary loops. There are no notebook helper functions, custom classes, installation cells, cloud services or private input files. All spatial graph objects are created with TGraph. Neither the legacy TopologicPy Graph class nor Kuzu is used.
Set up once
The tested platform is Windows x64, Python 3.12.14, TopologicPy 0.9.86 and pythonocc-core 8.0.1.1. See verification.md for the execution results and limits. Installation, particularly PyTorch, takes longer than running these examples.
From the repository root, with Conda available:
conda env create -f notebooks/tutorials/environment.yml
conda activate topologicpy-tutorials
python -m pip install -e .
python -m pip install -r notebooks/tutorials/requirements.txt
python -m ipykernel install --user --name topologicpy-tutorials --display-name "Python 3 (TopologicPy tutorials)"
The editable installation deliberately uses this checkout. The verified source revision is recorded in the verification report; these notebooks assert version 0.9.86 and the active pythonocc backend at runtime. For a different checkout or package build, rerun verification rather than assuming that an identical version string guarantees identical source.
For all three specialist tutorials (11, 14, 15), add:
python -m pip install torch==2.14.1 --index-url https://download.pytorch.org/whl/cpu
python -m pip install -r notebooks/tutorials/requirements-specialist.txt
Or install only what you need: rdflib==7.2.1 for 11, openstudio==3.11.0 for 14, and CPU torch==2.14.1 plus torch-geometric==2.8.1 for 15. The specialist requirements file records the additional versions used during verification. Tutorial 12 uses the built-in IFC importer and needs no IfcOpenShell installation.
Open and run
Open the notebooks/tutorials folder in your notebook editor, select Python 3 (TopologicPy tutorials), open a notebook, and use Restart Kernel and Run All. The working directory must be notebooks/tutorials, so data/ resolves correctly. Notebook cells never change your working directory or edit the Python import path.
If the version or backend assertion fails, select the right kernel and restart it. The backend is selected before geometry imports; switching an already initialised kernel is unreliable. Use consistent units: the numerical coordinates in these examples represent metres, and the geometric tolerance examples use 0.0001 m.
Generated HTML, JSON, RDF and energy-model files go into a local results/ directory. It is ignored by Git. The Plotly example embeds its JavaScript, so both its figure output and exported HTML can display offline; your notebook viewer may ask you to trust the notebook before rendering HTML.
What the specialist examples cover
- Graph databases: a TGraph is mapped into a local RDF dataset, queried with SPARQL, saved as TriG and reloaded. The dataset is a storage container, not a second spatial graph model. This introduces graph database concepts without configuring a production service.
- IFC: a supplied synthetic IFC4 space, semantic summary and geometry extraction. No large downloads or project-specific files.
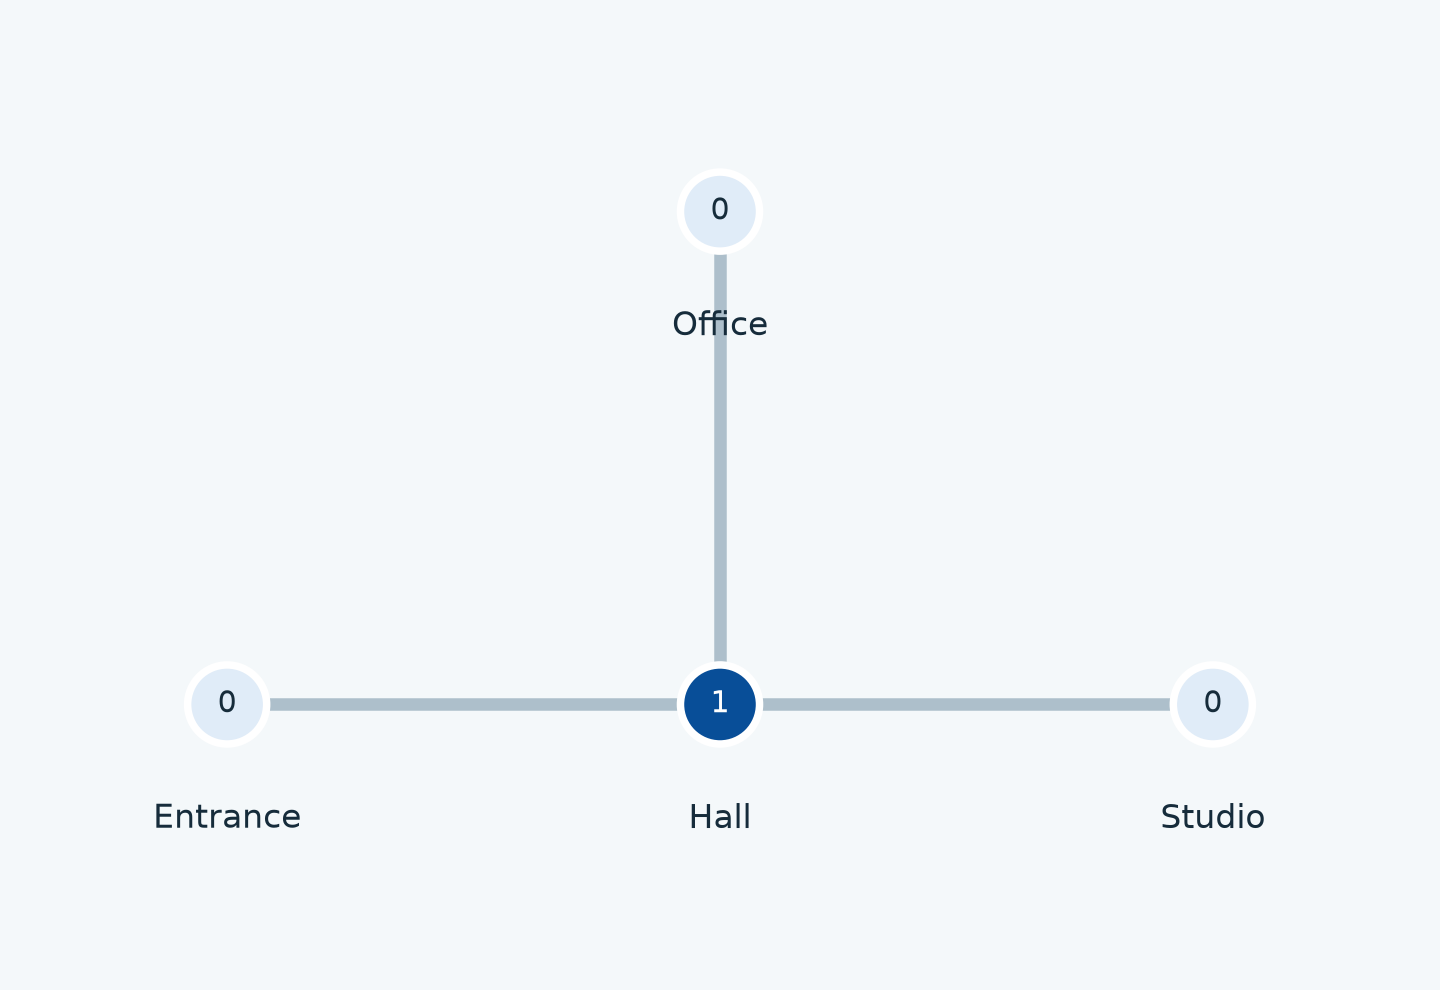
- Space syntax: closeness-based integration and vertex choice on a small access TGraph. The notebook distinguishes these measures from other space-syntax representations and normalisations.
- Energy: TopologicPy geometry to an OpenStudio model, checked floor area and OSM export. Annual EnergyPlus simulation is an extension, requiring a configured OpenStudio CLI; it is not executed or claimed as verified here.
- Graph machine learning: TGraph to tensor data, one graph-convolution layer, 30 CPU training steps and predictions. This deliberately tiny training-only example demonstrates mechanics. It has no held-out evaluation, may predict the majority class, and makes no accuracy claim.
Verify again
python notebooks/tutorials/verify.pyThe verifier uses the active Python interpreter, starts a fresh Jupyter kernel for each notebook, validates notebook structure, executes every code cell without skips, and uses isolated copies of the sample data. It writes a JSON report containing notebook hashes and timings. Each cell has a 120-second limit; the specialist dependencies must be installed first. To check selected notebooks, use e.g. --only 09 11 13 15.
The older notebooks remain where they were as reference material. They are not part of this verified sequence. See the audit for the original inventory and migration decisions, and data provenance for the supplied files.